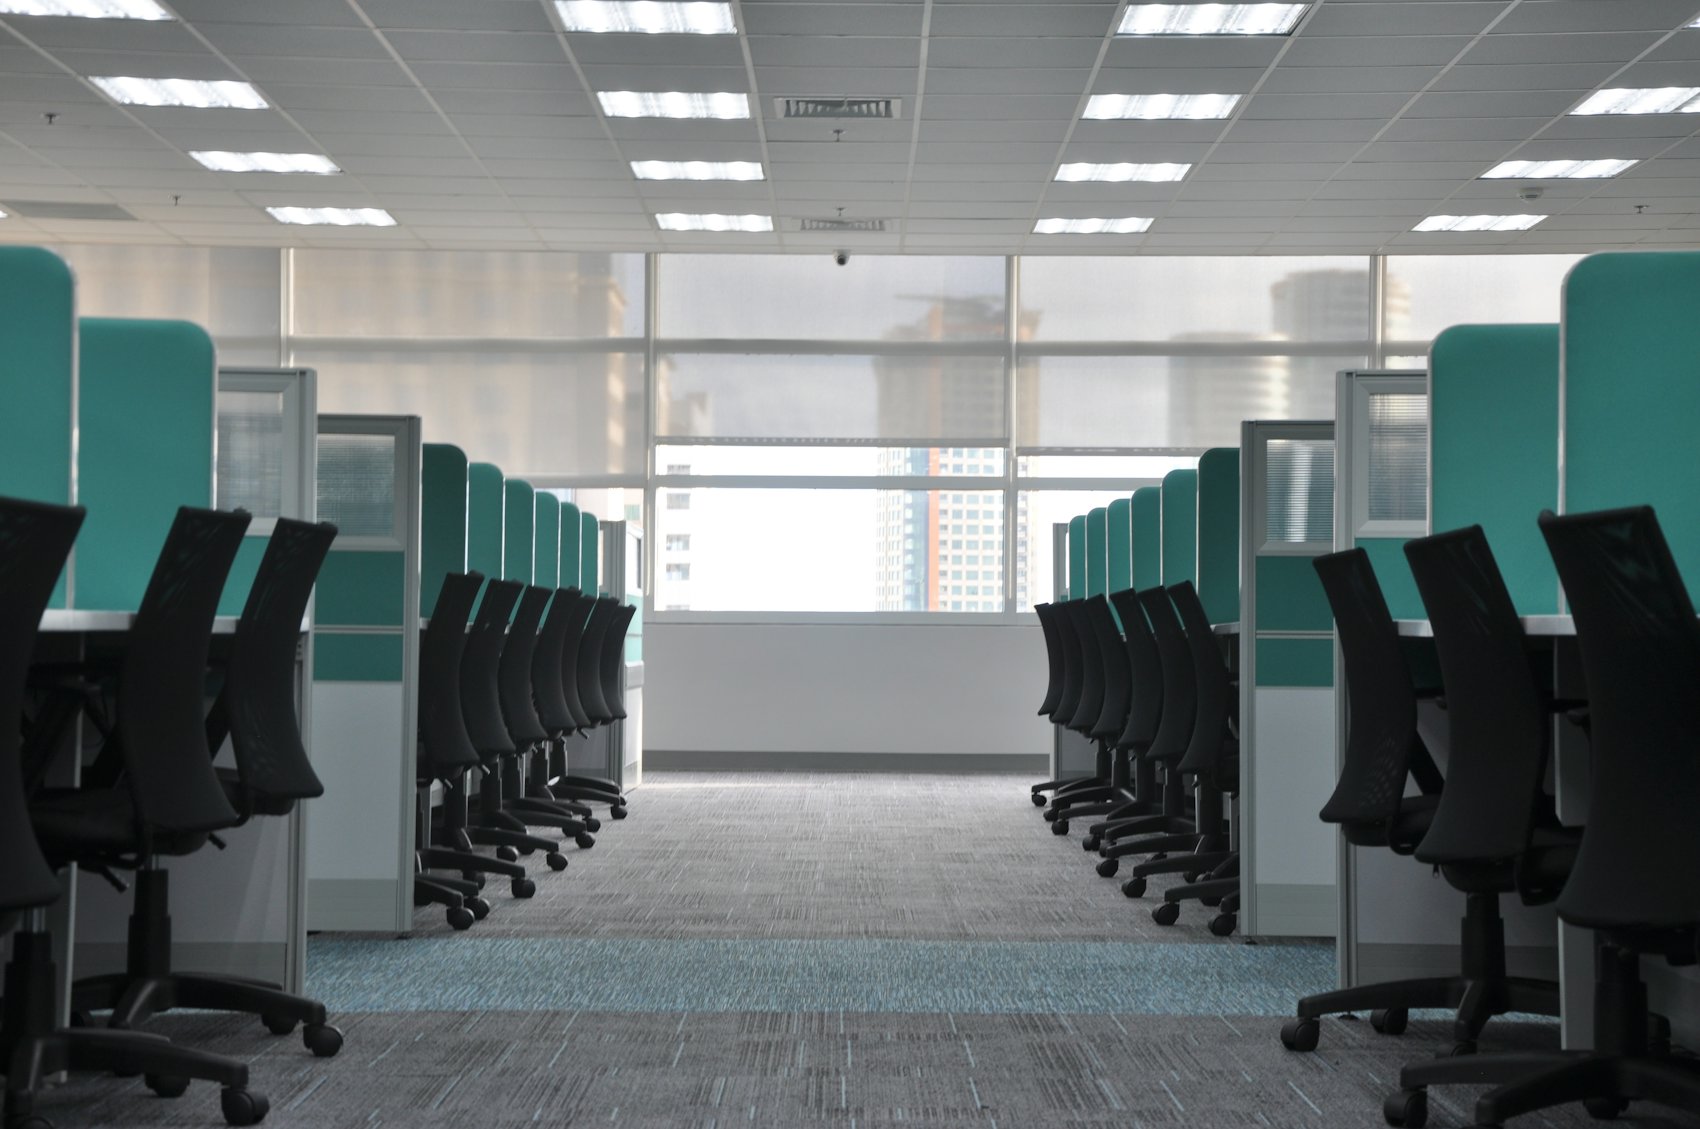
Reconfiguring an office means changing the layout you already have instead of moving out of it. In Phoenix that usually means adding seats for a growing team, lowering panels to open a floor up, reshaping stations for hybrid schedules, or turning rows of workstations into meeting and project space. Done well, it reuses most of what you own, fills gaps with matching pre-owned or remanufactured parts, and happens around your staff rather than on top of them. This guide walks through the decisions in the order a facilities or office manager will meet them.
- When reconfiguring beats moving
- Start with the seat count and the drawing
- Adding seats to an existing system
- Changing panel heights
- Hybrid and return-to-office redesigns
- Matching parts: liquidation grade, remanufactured or new
- Working around an occupied floor
- What to do with removed parts
- Reconfiguration checklist
When reconfiguring beats moving
A reconfiguration makes sense when the building still works and the layout does not. If your lease has years left, the location suits your people and the problem is how the floor is arranged, changing the furniture is far less disruptive than changing the address.
Common triggers we see in Valley offices:
- A team has grown and there is open floor area, but no stations on it.
- Tall panels made sense for a call floor that has since changed roles.
- Hybrid schedules leave half the assigned desks empty most days, while meeting rooms are always booked.
- A return-to-office push brings more people in on the same days.
- Two departments merged and need to sit together.
If the building itself is the problem, such as too little floor area, the wrong part of town or a lease that is ending, a move or consolidation is the better path. Our Phoenix office reconfiguration page covers the service side; this guide covers the planning.
Start with the seat count and the drawing
Every good reconfiguration starts with two numbers and one drawing. The numbers are how many people need an assigned station and how many need a shared or touchdown seat on the busiest day. The drawing is your actual floor, with columns, windows, power poles, floor cores and egress paths marked.
Before anyone moves a panel:
- Count the stations you have now, by size and type, and note which are in poor condition.
- Photograph the manufacturer labels under worksurfaces and on panel frames. These identify the product line.
- Measure panel heights and station footprints.
- Mark where power enters each run: base feed, floor box or ceiling pole.
- Agree on the target seat count with the people who approve headcount, not just the team asking for change.
With that in hand, a space planner can show you two or three layouts on your real floor. Cubicle configurations such as inline runs, clusters and benching each pack differently, and the right one depends on how people work, not only on how many fit.
Adding seats to an existing system
The easiest added seat is one that matches what is already on the floor. Systems furniture is built from parts: panels, connectors, worksurfaces, supports, storage and power. Parts from the same product line generally connect to each other; parts from different lines generally do not.
That makes identification the first job. Once the line is known, there are three ways to add stations:
- Extend a run. Add stations to the end of an existing row using matching panels and connectors. This is often the cleanest result.
- Split larger stations. Large stations can sometimes be divided into two smaller ones by re-using the panels and adding worksurfaces. This adds seats without adding floor area, at the cost of personal space.
- Add a separate group. If matching parts are not available, a new group of stations in an open area avoids mixing systems in one run.
Finish matching is the honest limit. Fabric, laminate and paint can vary between production years even within one line. Grouping added stations together, or placing them where the difference is least visible, solves most of it.
Changing panel heights
Panel height is one of the most common reasons for a reconfiguration. Lower panels open sightlines and light; taller panels add privacy and acoustic separation. Our guide to cubicle partitions and panel heights covers the trade-offs in detail.
How a height change is done depends on the line. Some systems change height by adding or removing stacked sections on an existing frame. Others need different frames altogether. A few use glass or screen toppers that clip on.
Three things to check before you commit:
- Power and data. Cables often run through the panel. A lower panel may leave less room for raceways, and some outlets may need to move to the worksurface or the floor.
- Stability. Panels are often held up partly by the stations around them. Removing a run or lowering one side changes how the rest is braced.
- Overhead storage. Bins hung on panels usually leave with the height. Plan where that storage goes.
Hybrid and return-to-office redesigns
Hybrid and return-to-office plans pull in opposite directions, and many Phoenix offices are doing both at once: fewer assigned desks overall, but more people on the busy days.
Useful moves in a hybrid redesign:
- Convert a run of rarely used assigned stations into shared touchdown desks with lower panels.
- Turn a cluster of stations into a small project room or two-person video booth area.
- Add lockers or mobile pedestals so people on shared desks have somewhere to keep their things.
- Keep assigned stations for roles that are in every day, and put them in the quietest part of the floor.
For return-to-office plans, check the busiest day first. If the floor cannot seat everyone on that day, adding stations to an existing system is usually faster than waiting for new furniture. Our hybrid office furniture planning guide goes deeper on ratios and space types.
Matching parts: liquidation grade, remanufactured or new
Once the layout is drawn, you will know which parts are missing. Office Station is an independent reseller of pre-owned and remanufactured office furniture, so parts can come from three grades. Brand and model names identify the original manufacturer only, and manufacturer warranties generally do not transfer to pre-owned furniture.
| Grade | Lead time | Best for | Trade-off |
|---|---|---|---|
| Liquidation grade | Installed in as little as 72 hours | Fast seat adds, matching common lines, back-of-house areas | Visible wear; finishes depend on what is in stock |
| Remanufactured | Usually 7 to 14 days | Parts that sit next to existing stations and need to look consistent | Takes longer than liquidation grade |
| New | 4 to 6 weeks | Lines no longer available pre-owned, or areas where a fresh finish matters most | Longest lead time; may not match older finishes exactly |
Many projects mix grades: liquidation-grade panels and connectors where they are hidden, remanufactured worksurfaces and panel fabric where people see them. See used vs remanufactured vs new cubicles for a fuller comparison. What drives the cost is grade, station size, panel height, power, finishes, matched quantities and installation complexity. Every project is quoted individually.
Working around an occupied floor
The hardest part of a reconfiguration is usually not the furniture. It is doing the work while people need to keep working.
Phase by zone
Split the floor into zones and work one at a time. People in the first zone move to temporary seats, often in a conference room or an empty corner, while their area is rebuilt. When it is done, they move in and the next zone starts.
Work after hours
Panel removal, drilling and electrical work are loud. Many Phoenix office buildings limit noisy work to evenings or weekends and require freight elevator and dock bookings in advance. After-hours installs let staff leave a finished area at night and arrive to a new one. Ask your property manager early for the building's work rules, insurance certificate requirements and any limits on dock times.
Coordinate the trades
Furniture, electrical and IT have to be in the same sequence. If panels go up before the electrician has fed them, someone comes back. If IT pulls network drops before the furniture is set, the cables end up in the wrong place. One schedule, one owner.
Protect what stays
Floors, walls and finished areas near the work need protection. In summer, plan the work for cooler hours and keep loading times short. Furniture and people both do better out of the afternoon heat.
What to do with removed parts
Reconfigurations almost always free up parts: tall panels replaced by low ones, stations combined into meeting space, old seating replaced by better chairs. Decide what happens to them while you are planning, not after they are stacked in a hallway.
- Keep a small stock of matching parts for future changes, if you have dry storage for it.
- Redeploy to another office you operate when there is a real need and a date.
- Liquidate what has no home. Our Phoenix office furniture liquidation page explains how surplus is routed to resale, donation and recycling, case by case.
- Recycle what cannot be reused, and keep records of where it went.
Reconfiguration checklist
- Target seat count agreed for assigned and shared seats
- Product line identified from labels and measurements
- Floor drawn with columns, power entry points and egress
- Layout options reviewed and one approved
- Parts list split by grade, with lead times confirmed
- Electrical and IT scope written and scheduled
- Building work rules, elevator and dock bookings confirmed
- Zones and temporary seating planned
- Staff told what moves, when and where they sit in the meantime
- Surplus parts routed before work starts
Space planning is free, and the drawing is done on your actual floor. To start, request a free quote and space plan, use the contact page, or write to hello@officestation.com with your address, rough seat count and a few photos of your current stations.
Frequently asked questions
Can you add cubicles to our existing system without replacing everything?
Usually, yes, if the manufacturer and product line can be identified and matching components are available. Panels, connectors, worksurfaces and power parts from the same line generally connect to what you already own. Finishes may differ slightly, so new stations are often grouped together or placed where the difference is least visible. A walkthrough to photograph labels and measure panels comes first.
Can cubicle panels be lowered or raised in place?
Many panel systems allow stacking or removing panel sections or swapping to different height frames, but it depends on the product line. Some lines change height by adding toppers or stackers; others need different frames. Lowering panels also changes where power and data run, so electrical must be checked before the change is planned.
How long does an office reconfiguration take?
Planning usually takes longer than the physical work. Once the plan is approved, the timeline depends on the parts you need: liquidation-grade stock can be installed in as little as 72 hours, remanufactured components usually take 7 to 14 days, and new components take 4 to 6 weeks. Installation itself is often phased over evenings or weekends.
Can a reconfiguration be done while employees are working?
Yes, with phasing. Work is split into zones so one area is reconfigured while staff use another, or it is done after hours so people leave a finished area in the evening and return to a new one. Phoenix office buildings often set rules for noisy work, elevator use and dock times, so confirm them early.
What happens to the panels and desks we no longer need?
Surplus parts can be kept for future changes, redeployed to another location, resold, donated or recycled. Which route fits depends on brand, condition, quantity and timing, and it is decided case by case. Plan the surplus at the same time as the new layout so removed parts do not end up crowding a storage room.